Getting Started
This guide will walk you through the essential steps to get started with DeskoInvoice, including creating an account, setting up your business profile, customizing invoice templates, creating invoices and estimates, recording payments, and managing your documents.
1. Sign Up and Sign In
- Click Sign Up and create your Desko Invoice account
How to Create an Account?
- Enter your email address.
- Create a secure password.
- Click on Sign Up.
- An OTP will be sent to your registered email address.
- Enter the OTP and select Verify Email.
- Once your email is verified, your account will be successfully created.
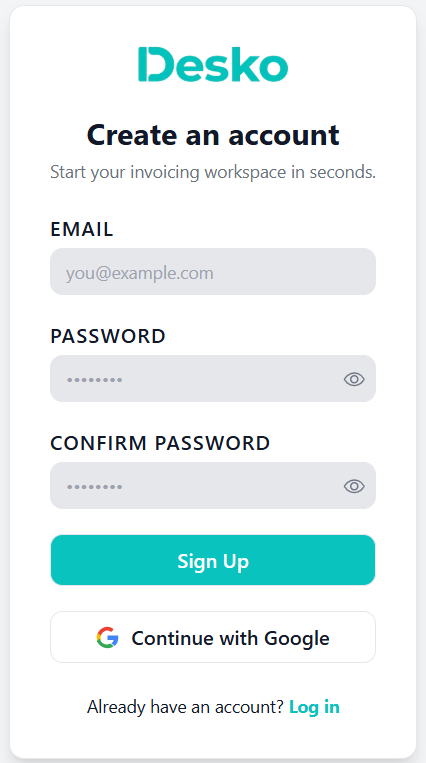
- After signing in, you can start setup from the app dashboard.
Check the demo: https://invoice.desko.app/en/signup
- Click Sign In and log in
How to Sign In?
-
Open the DeskoInvoice login page.
-
Enter your registered email address.
-
Enter your password.
-
Select Remember me to stay signed in on your device (Optional) .
-
Click Login.
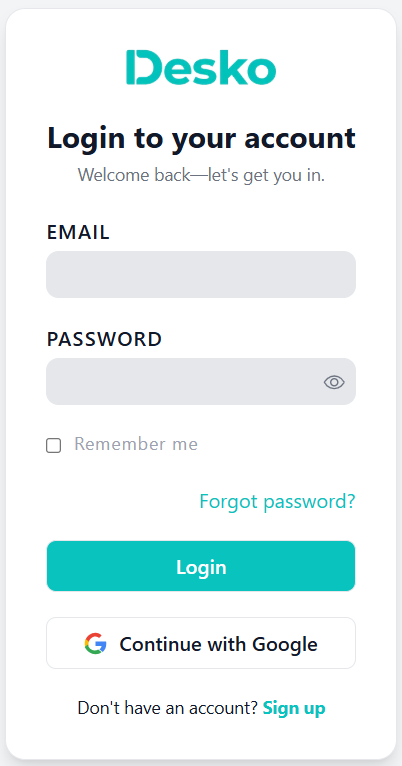
- If your credentials are correct, you will be redirected to the Dashboard.
Check the demo: https://invoice.desko.app/en/login
Forgot Password
- On the Login page, click Forgot password?
- Enter your registered email address.
- Click Request OTP.
- An OTP will be sent to your email address.
- Enter the OTP on the verification screen.
- Create and confirm your new password.
- Click Reset Password.
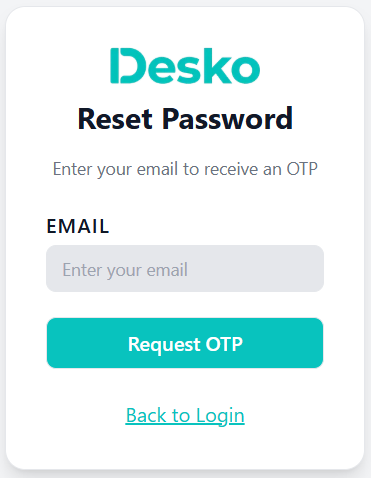
- Once the password is successfully reset, return to the Login page and sign in with your new password.
2. Complete Business Profile
Use this checklist before creating the first live invoice.
Open Business Profile and fill:
- Business name
- Phone number
- Address
- Country
- Time zone
- Currency
- GST/VAT number or tax number
- Logo
- Payment link, UPI QR, or payment instructions if customers should pay online
These details are used in invoice PDF templates, estimates, payment receipts, reminders, GST filing, and ZATCA flows.
3. Configure document numbering
Open Business Profile > Documents and configure:
- Invoice prefix, postfix, separator, and last number
- Estimate prefix, postfix, separator, and last number
- Invoice terms and conditions
- Estimate terms and conditions
- Payment Receipt Numbering
Example:
Prefix: INV
Separator: -
Last Number: 30
Next invoice: INV-31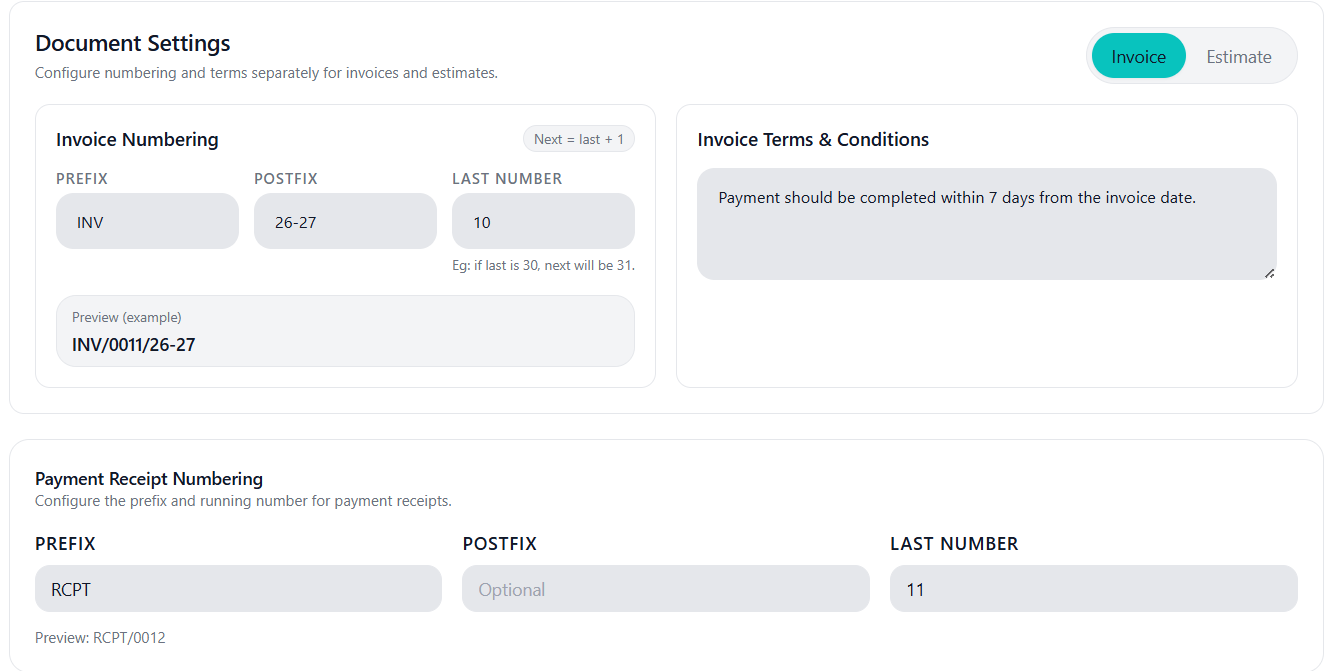
4. Add customers
Open Customers and save the billing contacts you use often.
Useful fields:
- Name
- Phone
- Tax number
- Address
Customer email is important for sending invoices and scheduling email reminders.
5. Add items
Open Items and create common products/services.
Useful fields:
- Name
- HSN code(India)
- Price
- Tax category
- Tax percent
- Unit
- Description
This helps users create invoices faster and reduces mistakes in tax calculation.
6. Add tax categories
Open Tax Categories and create reusable tax rules.
Examples:
| Use case | Category setup |
|---|---|
| India intrastate GST 18% | CGST 9% + SGST 9% |
| India interstate GST 18% | IGST 18% |
| VAT 5% | VAT 5% |
The total rate must match the sum of the tax components.
7. Create the first invoice
Open Invoices > New Invoice.
- Select or enter customer details.
- Confirm invoice date and due date.
- Add items.
- Select tax category or tax percent.
- Add discount if needed.
- Check subtotal, taxable amount, tax, round-off, and grand total.
- Save and preview.
- Download, print, share, or send the PDF.
8. Record payment
After the customer pays:
- Open the invoice overview.
- Click Record Payment.
- Enter amount, payment date, method, reference, and notes.
- Save the payment.
- View, download, print, or share the payment receipt.
9. Compliance setup
Use these only when required:
- GST Filing: Requires business GSTIN, PAN, email, phone, and proper invoice tax data.
- ZATCA: Requires ZATCA add-on, Saudi business setup, onboarding/signing details, and correct invoice type.