Billing (New Sale -> Checkout)
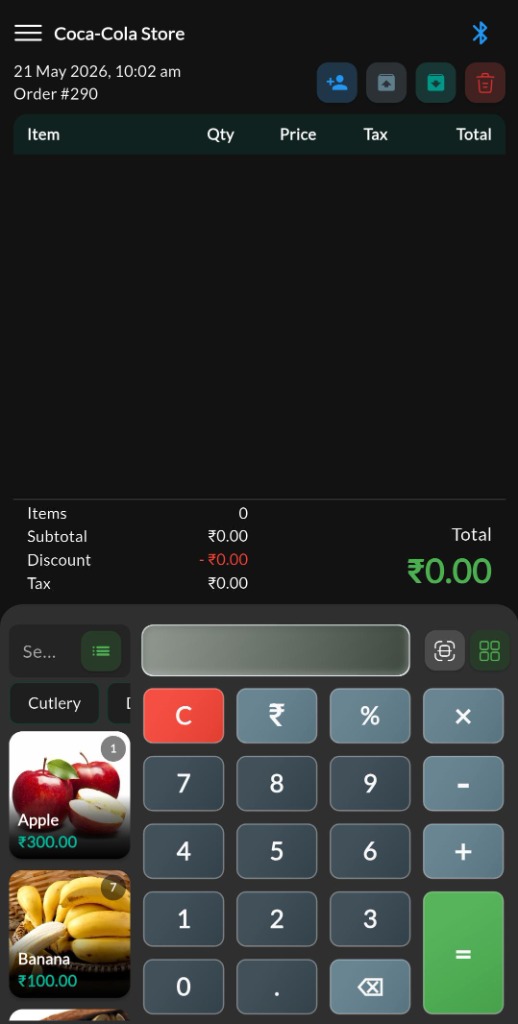
Billing is the primary POS screen used for day-to-day selling. Depending on your store mode and add-ons, Billing supports:
- Standard retail billing
- Restaurant billing (KOT, table transfer, etc.)
- Refund / edit flows (role-permission controlled)
Video Tutorial
Create your first bill in seconds
Screen: Billing
Purpose
Create a sale by selecting products, adjusting quantities, applying discounts/taxes, and collecting payment.
Common workflow (fast billing)
- Search/select products and add them to the bill.
- Adjust quantity/weight as needed.
- Attach a customer.
- Hold the bill and resume later.
- Review totals and confirm.
- Print receipt (and KOT for restaurant mode where enabled).
Actions & controls (top / header area)
Attach customer
Used to link a bill to a customer for credit history and bill history tracking.
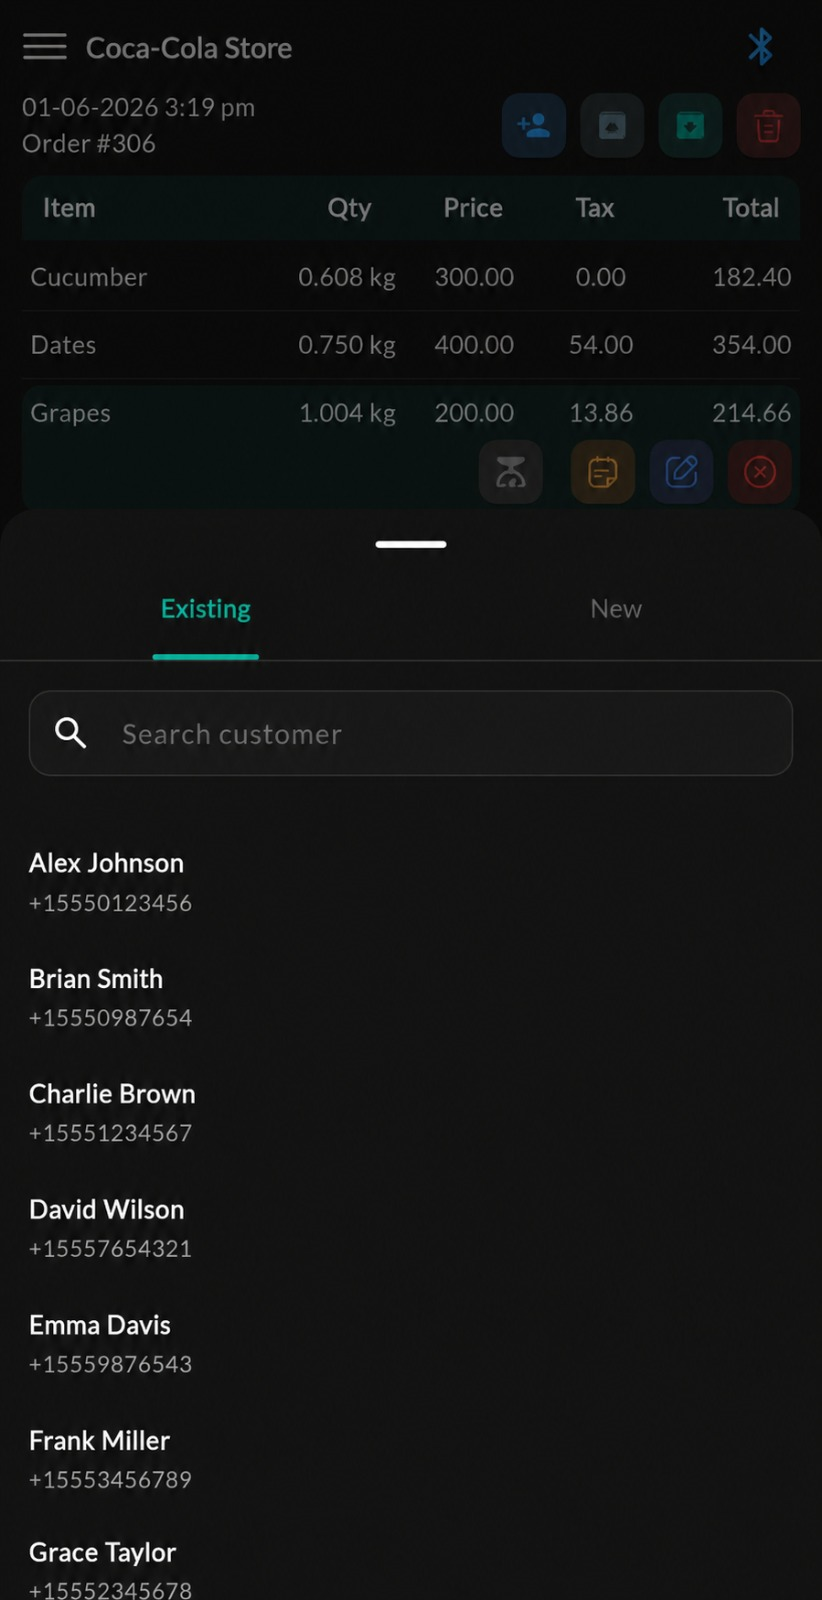
- If no customer is attached, the button typically shows Add customer.
- If a customer is attached, the button shows Customer with the selected name.
Hold / Resume (Standard billing)
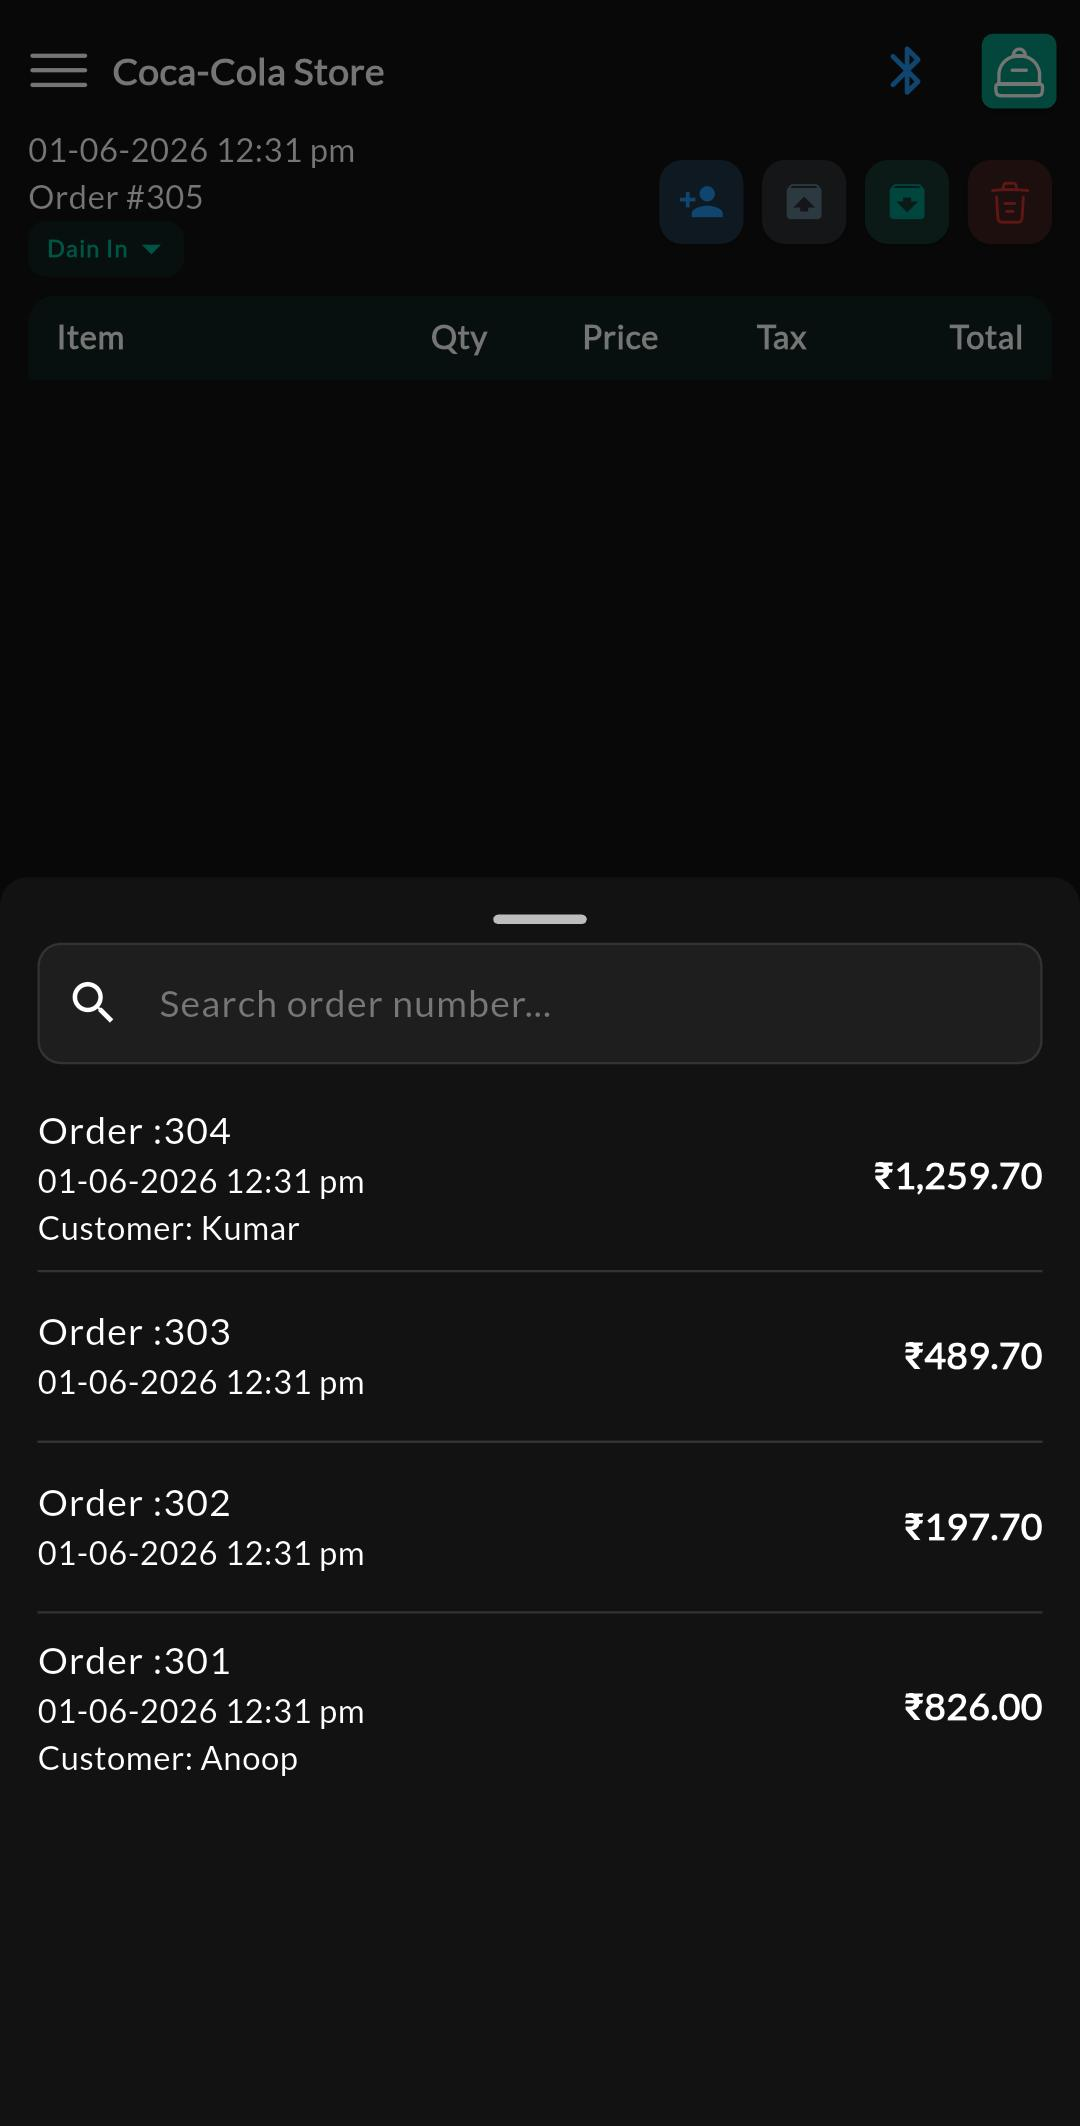
Hold is used when you want to temporarily park a bill (for example, a customer continues shopping) and start a new bill.
Typical usage:
- Add items to the bill.
- Tap Hold.
- Continue with a new bill.
- Tap Held to view held bills and select one to resume.
Held orders sheet includes:
- Search by order number (quick lookup)
- List of held orders
Restaurant actions (when enabled)
- Send KOT: Prints/dispatches a Kitchen Order Ticket for kitchen workflow.
- KOT Note: Adds a note for the KOT.
- Table Transfer (if enabled): Transfers a running order between tables.
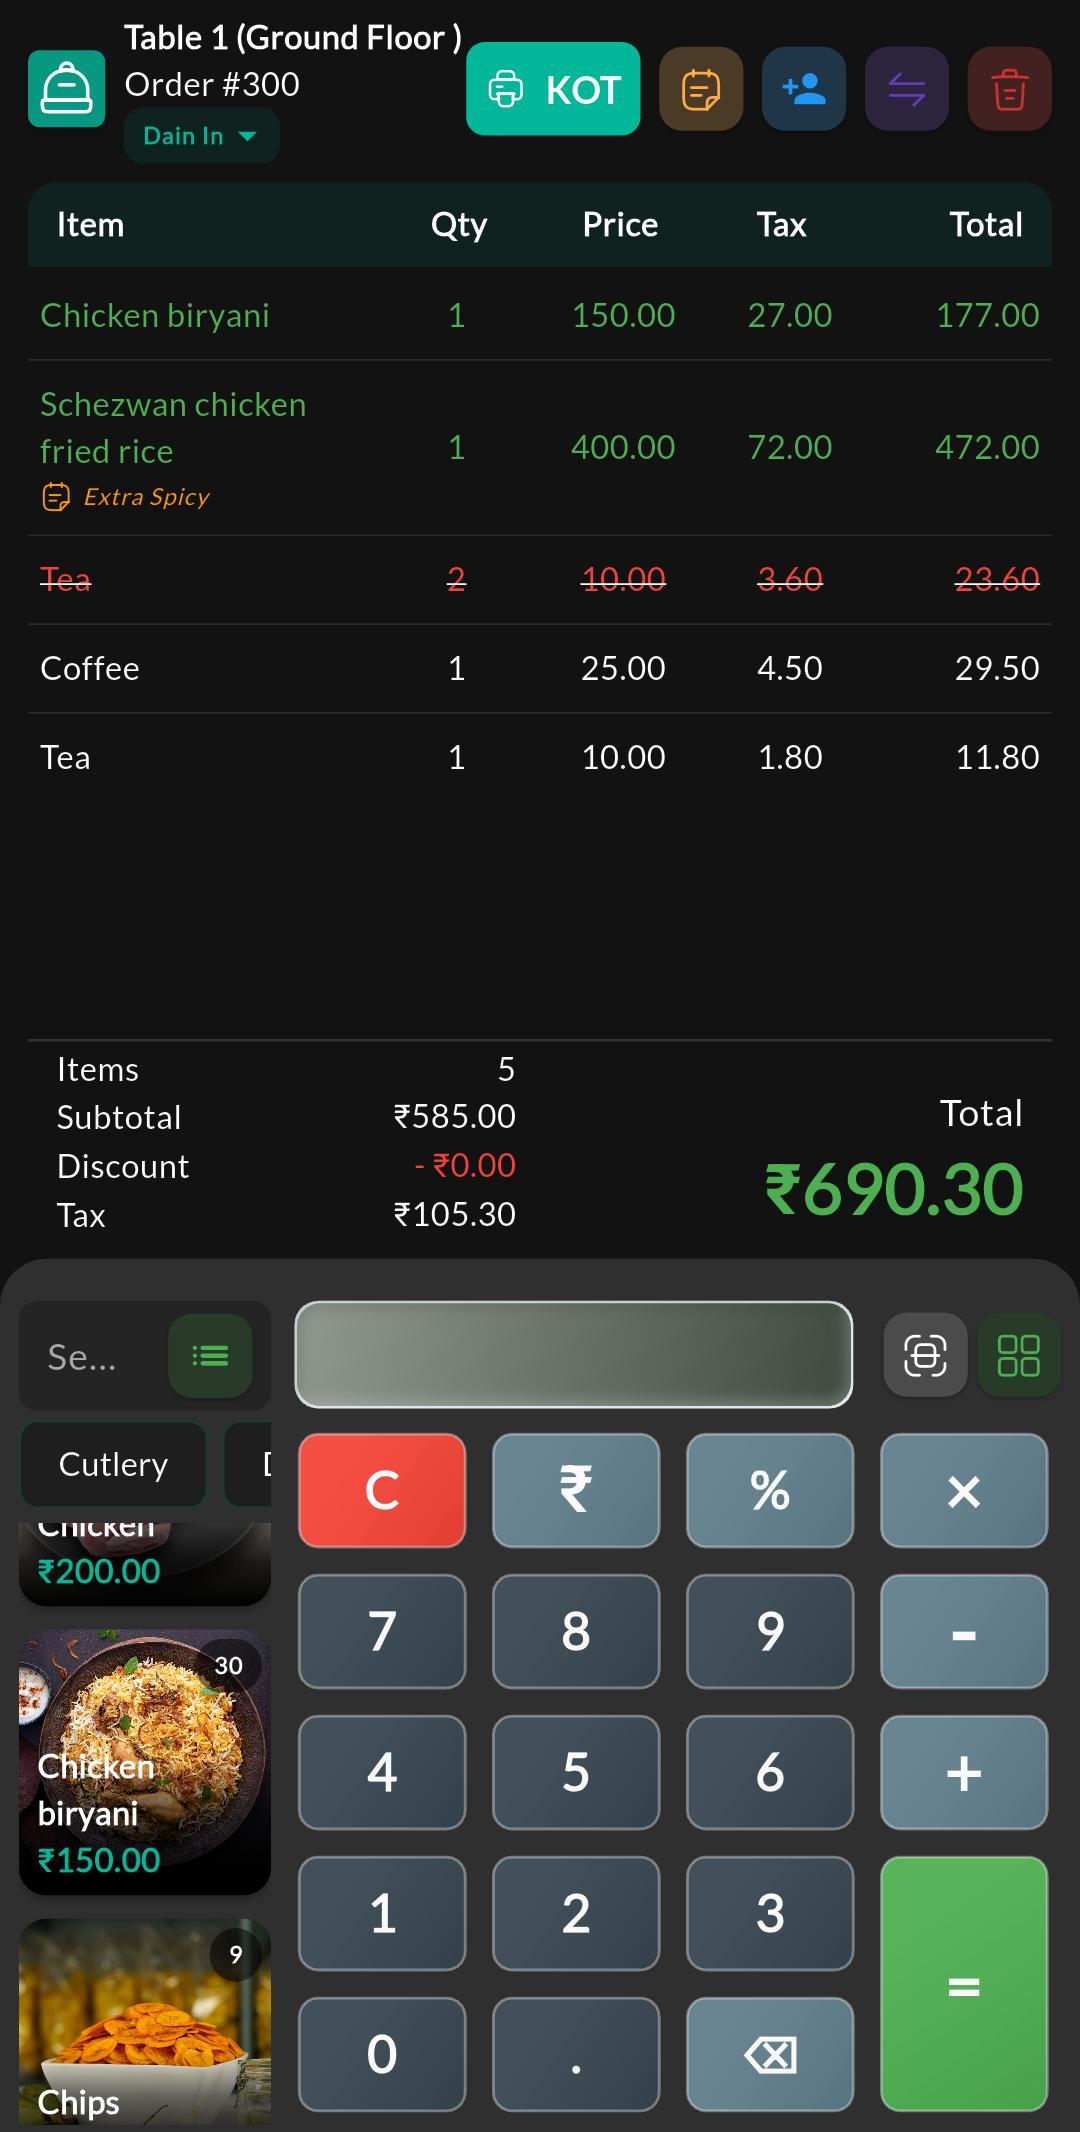
Restaurant features only appear when Restaurant mode is enabled and your role has the required permissions.
Product selection
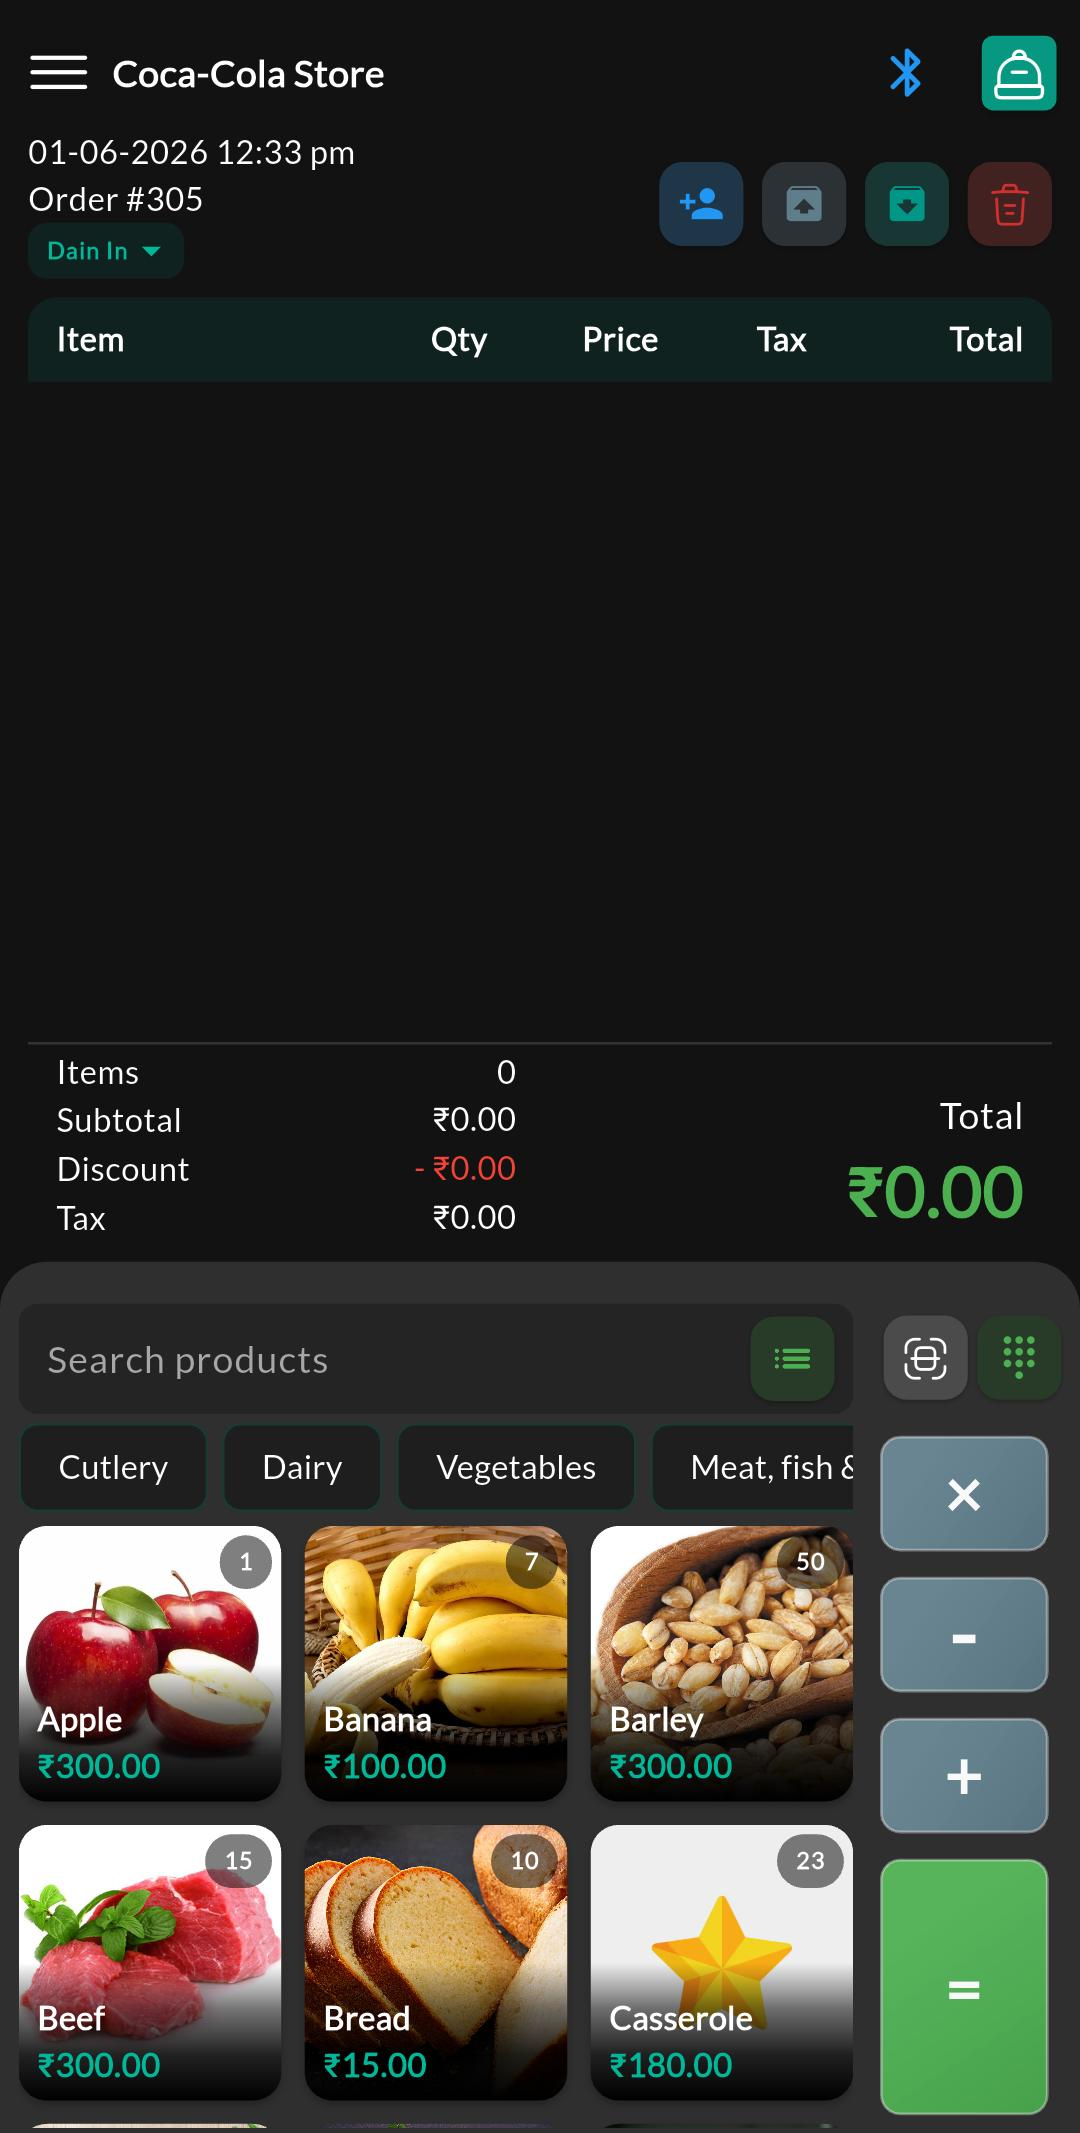
How to add items
- Use the search bar to find products (by name / code depending on your catalog setup).
- Select a product from the list/grid.
- The item appears in the bill items list.
Notes
- If you use a connected weighing scale, weight-based items may use live scale readings when configured.
Bill items (cart) editing
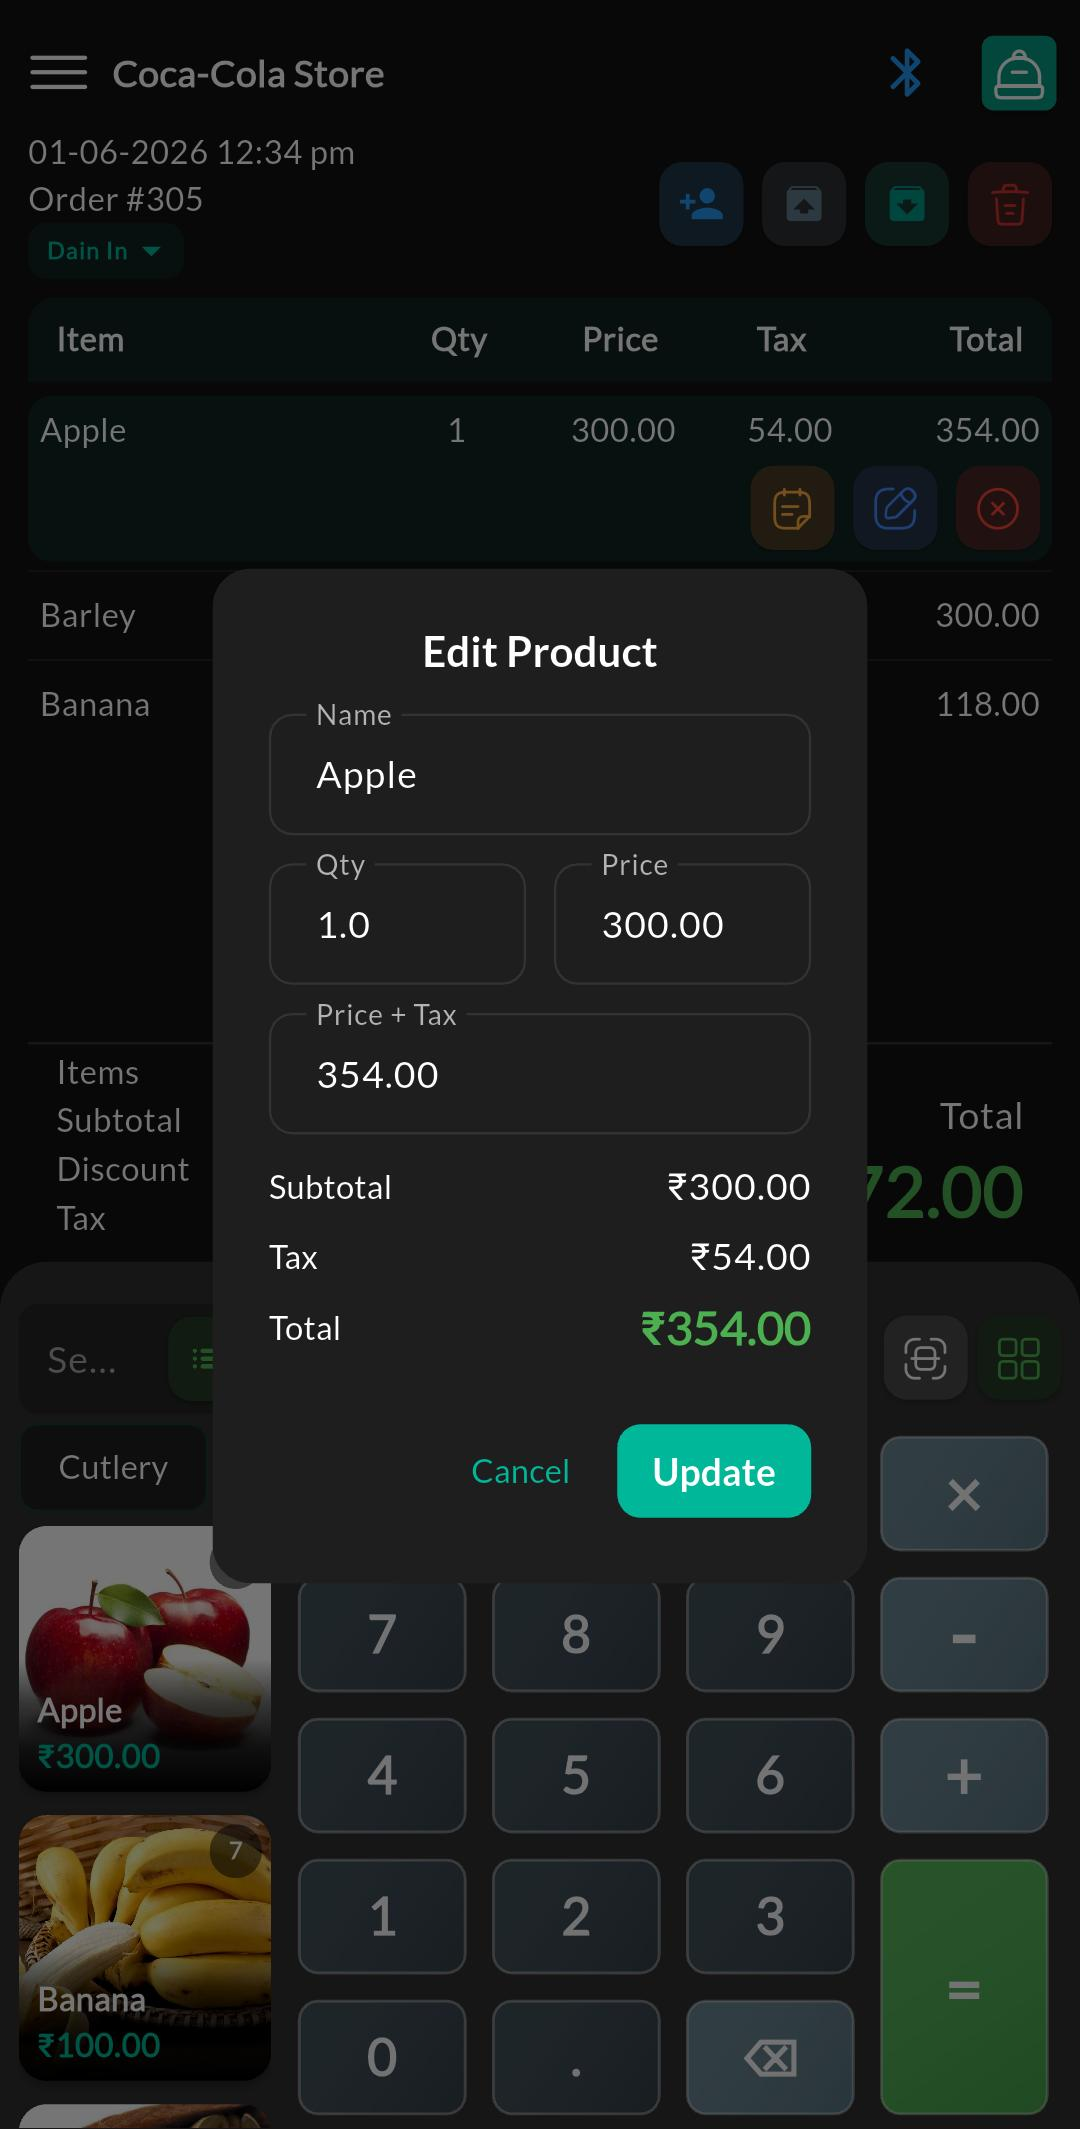
What you can do
- Increase/decrease quantity
- Remove an item
- Apply item-level adjustments (depending on permissions)
Refund quantity behavior (when refund flow is enabled)
Refund quantity steps may differ between normal items and weight-based items:
- Count-based items usually decrement in whole numbers.
- Weight-based items may decrement in fractional steps (for example, 0.5).
Screen: Connect Printer & Weighing Scale
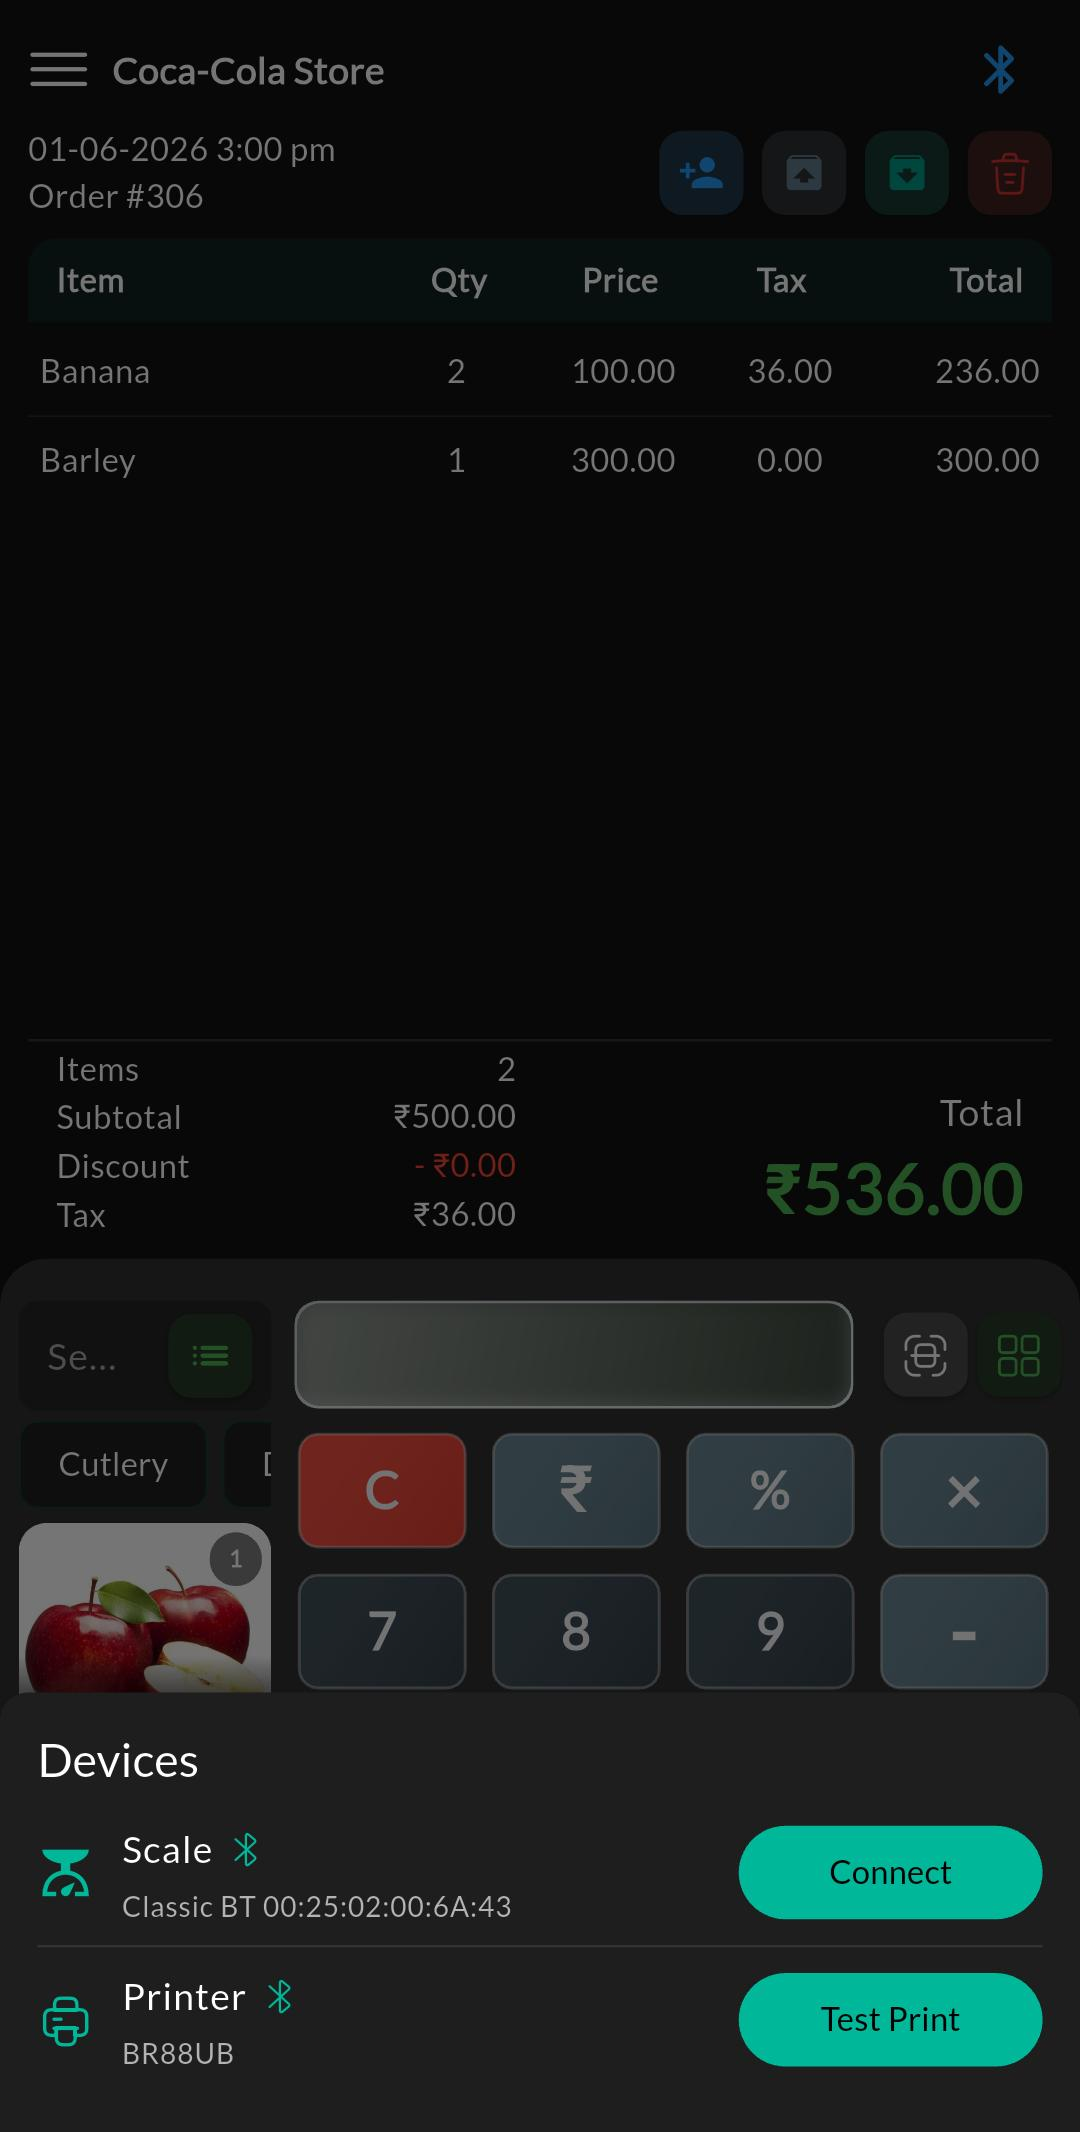
Purpose
Connect and manage the devices used during checkout:
- Printer (receipt/KOT printouts)
- Weighing scale (weight capture for weight-based items)
How to access
- Open Menu -> Devices and choose Printers or Weighing Scale.
- Some builds also show a shortcut from Checkout when a printer/scale is not connected.
What you can do
- Pair/add devices, view connection status, and adjust basic settings.
- Verify printing/weight readings before you start billing.
Related docs:
Screen: Weight/Scale-Based Product Billing
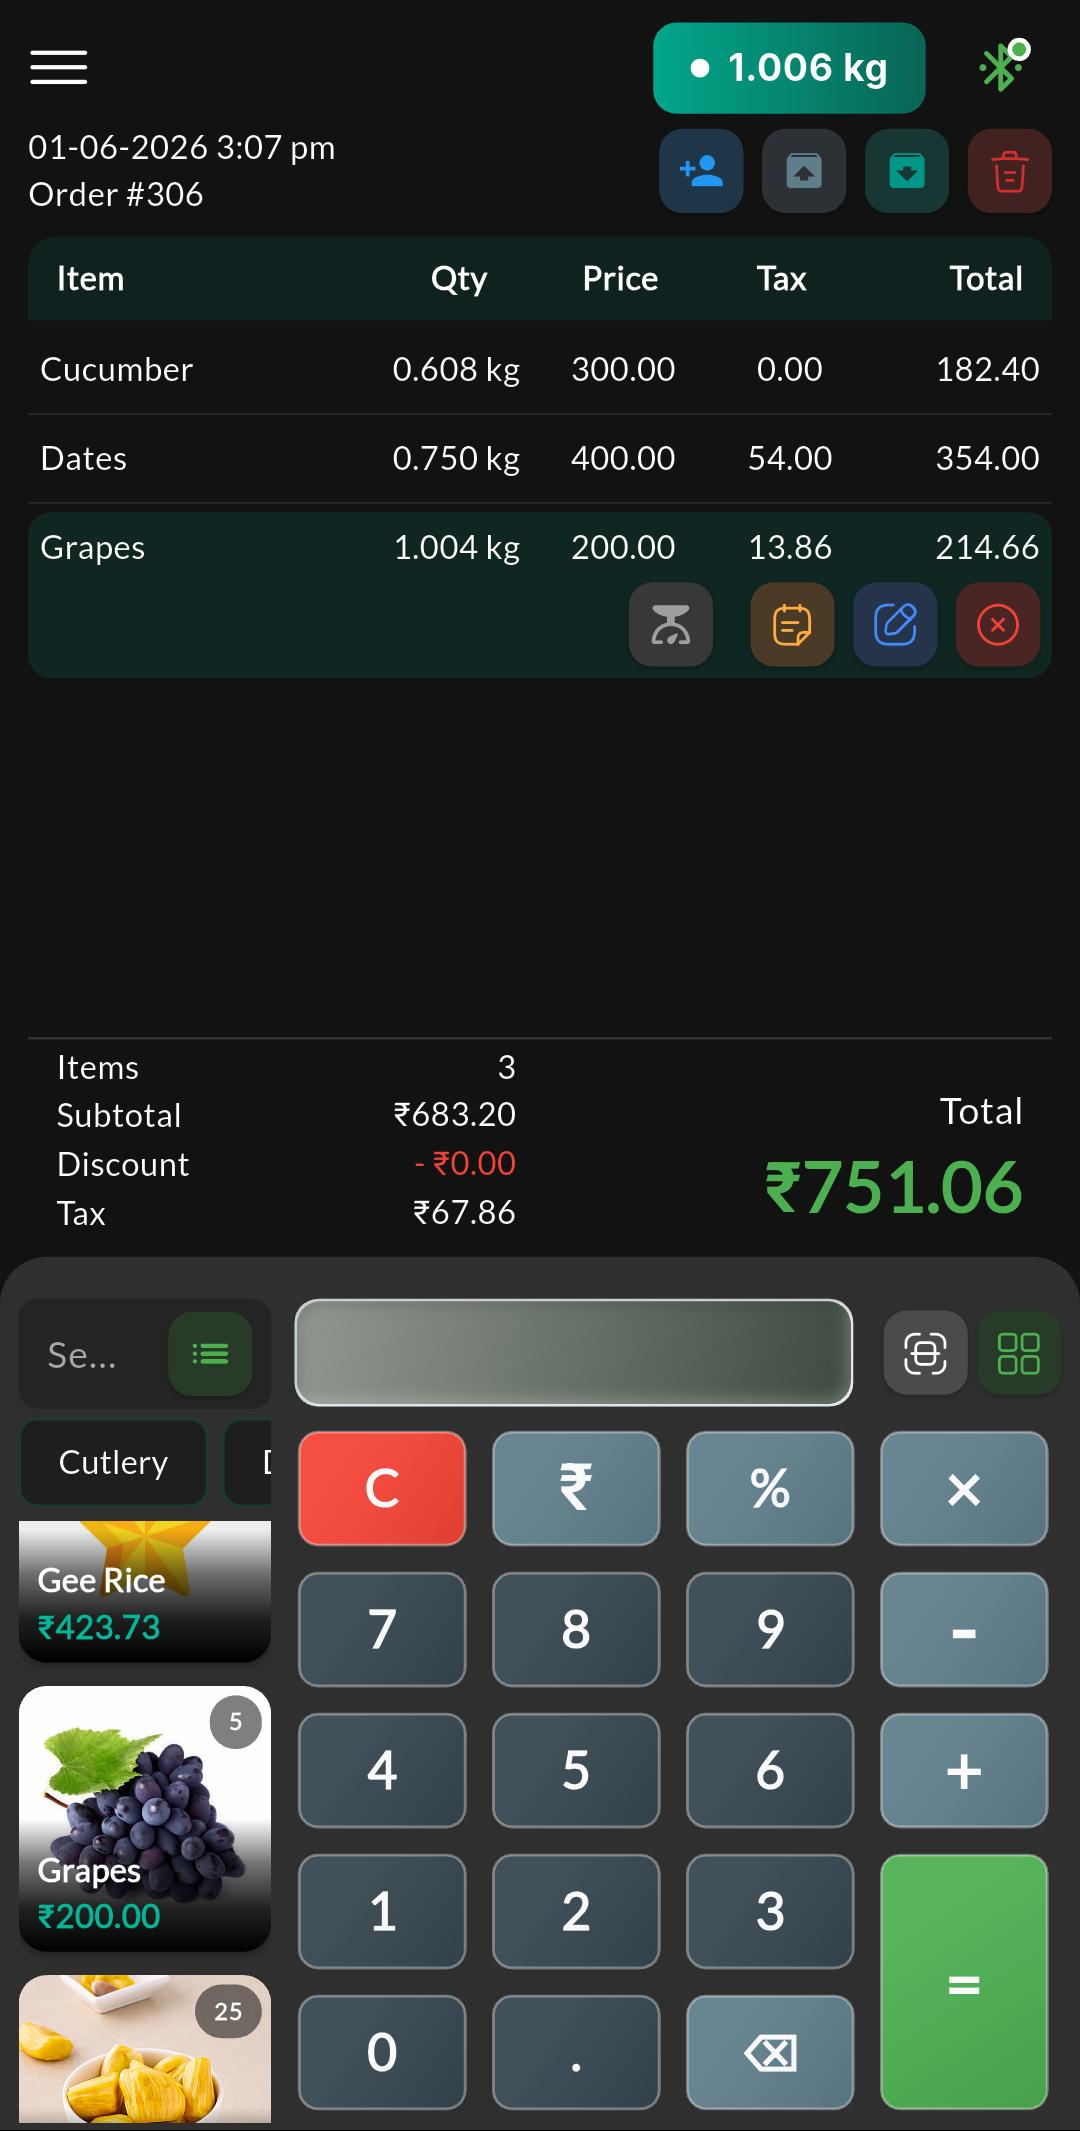
Purpose
Bill items where the payable quantity is based on measured weight (from a connected scale) instead of manual quantity entry.
Typical flow
- Ensure your weighing scale is connected (and shows a stable reading).
- Add/select a weight-based product in Billing.
- Place the item on the scale and confirm the captured weight/quantity.
- Review the calculated line total (rate × weight) in the bill items list.
- Continue to Checkout and complete payment.
Notes
- If the scale is disconnected, some builds allow manual weight entry as a fallback (based on permissions/settings).
- Refund/edit flows for weight-based items often use fractional quantity steps (for example, 0.5).
Related docs:
Screen: Checkout / Payment
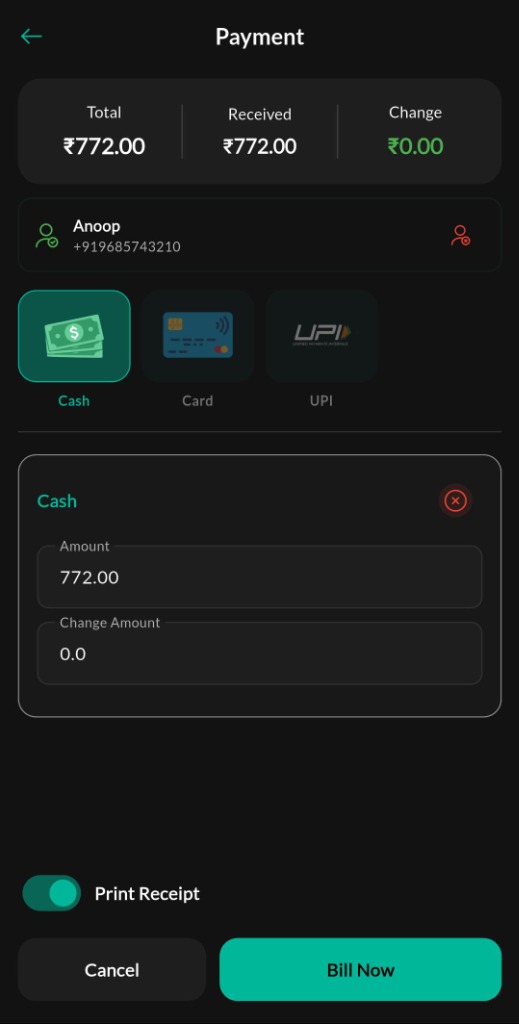
Purpose
Select a payment method and finalize the transaction to generate the invoice and complete the sale.
How to use
- Tap Checkout from the Billing screen.
- Select the preferred payment method (e.g., Cash, Card, UPI, or Credit).
- Enter the amount received/tendered by the customer. The app will calculate and display the change due (if applicable).
- Tap the confirm/pay button to complete the transaction and optionally print the receipt.
Fields & concepts used in billing
| Field | Required | Type | Description |
|---|---|---|---|
Product / Item | Yes | catalog item | Product chosen from your catalog; may be sold by quantity or weight. |
Quantity / Weight | Yes | number | Count-based items use quantity; weight-based items use measured weight when integrated. |
Customer | No | customer record | Attaching a customer enables customer bill history and credit workflows (if active). |
KOT Note (restaurant) | No | text | Printed/associated note for kitchen order ticket. |
Troubleshooting
Hold/Resume buttons are permission-controlled and may be hidden in edit/refund states.
Confirm Restaurant add-on is active and KOT is enabled in Restaurant Settings. Also confirm you have kitchen printer setup (Printers) and control-copy routing (if used).